Buying guide / Private label sourcing
Private label bakeware.
From brief to repeat order.
Define the product.
Approve the packed unit.
Keep the next batch consistent.
A logo is one part of a private label program. The product, care instructions, retail pack and inspection criteria need to agree before production starts.
Choose your starting route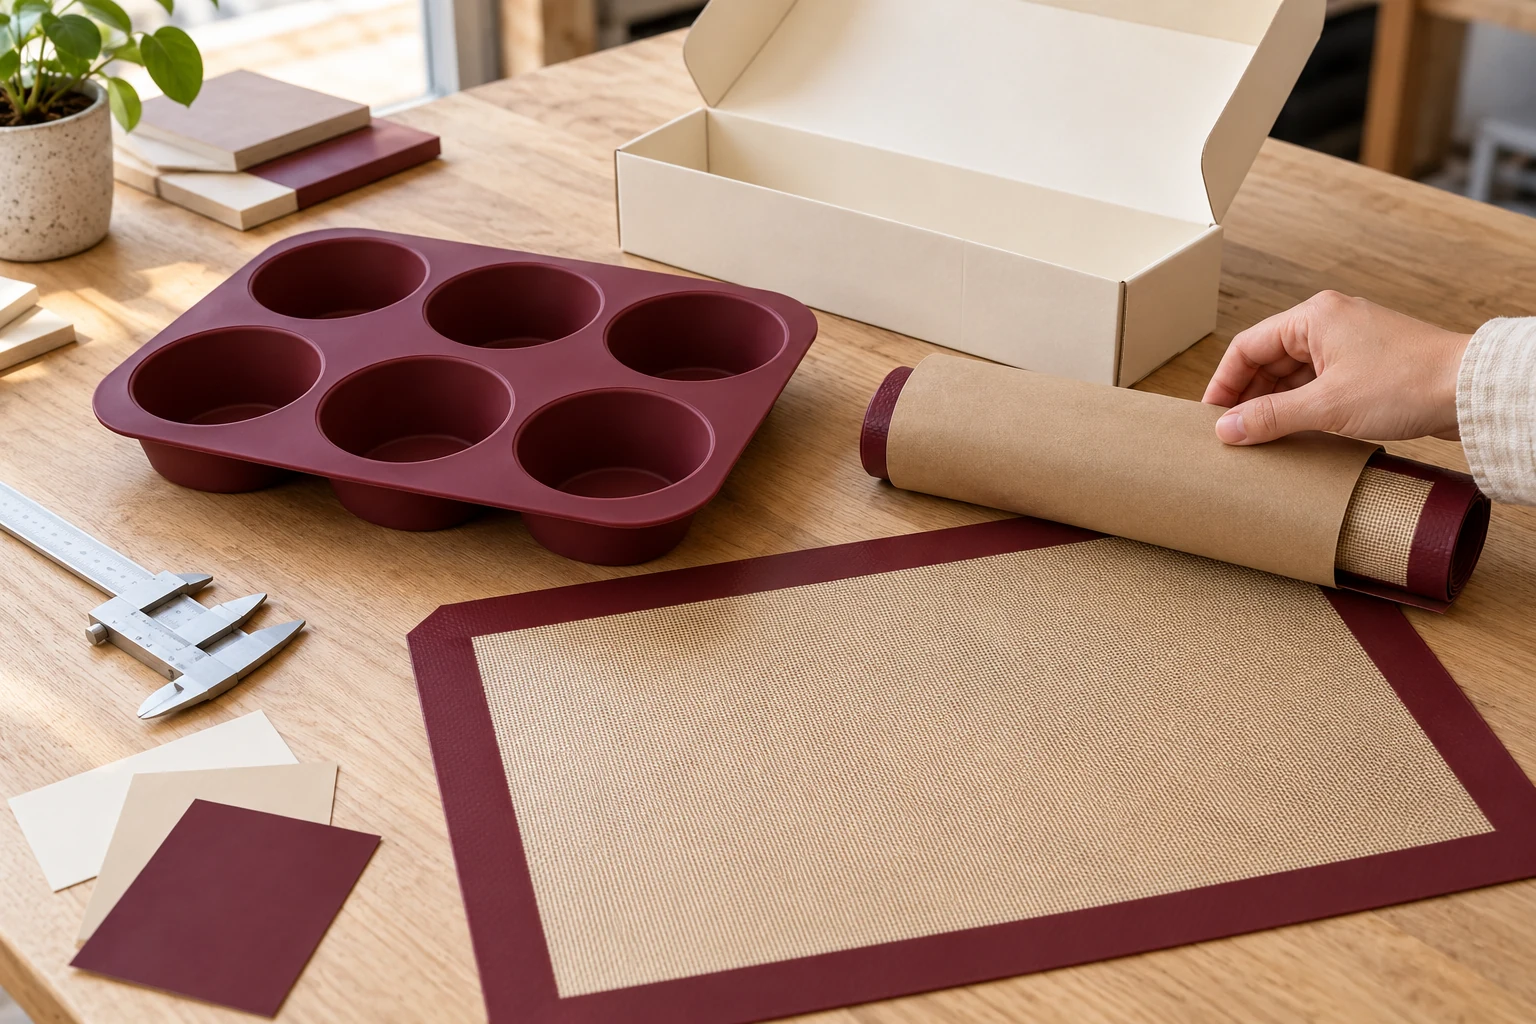
The process in brief
One specification.
Clear approval at each stage.
The private label bakeware process runs from product definition to feasibility, samples, written approval, production inspection and repeat supply. Choose the development route first: an existing product with branded packaging needs a different approval plan from a new mold or modified construction.
Before bulk production, approve the product, branding and complete packed unit against identified revisions. Carry those references into inspection and every reorder.
Product brief
Use, dimensions, market
Feasibility & quote
Construction, MOQ, scope
Samples & proofs
Product, logo, packed unit
Written approval
Drawing, sample, revisions
Production & inspection
Agreed acceptance checks
Delivery & reorder
Lot records, change control
01 / Development route
Decide what actually changes.
Start with the customer and sales channel. A bakery tool sold in a simple sleeve, an ecommerce set and a retail gift box can use similar products but need different packing, instructions and shipping protection. Define the sellable unit before choosing a logo method.
| Route | What changes | What to approve |
|---|---|---|
| Existing product + branded pack | Keep the existing construction and dimensions; develop a sleeve, insert, label or retail box. | Finished product, packed-unit fit, artwork and barcode. |
| Existing product + product branding | Add an agreed logo or color to an available format. The marking method must suit that construction. | Marking location, color reference, durability and final product specification. |
| Modified size or construction | Change dimensions, thickness, cavity layout, coating or another functional detail. | Revised drawing, production feasibility and performance in the intended use. |
| New shape or tooling | Develop a product geometry that needs a new mold, die or forming tool. | Tooling scope, sample iterations, ownership terms, approved output and repeat-order arrangements. |
An existing construction with branded packaging is a practical first launch when the current format meets the application. Change geometry or material when it solves a defined product requirement, and include the extra development work in the schedule.
Describe the actual work: existing mold, revised size, new tooling, printed logo, custom color or branded pack. Each changes a different part of the quotation and approval plan.
For a service overview, see private label bakeware supply →
02 / Product definition
Write the details a buyer can inspect.
Give every SKU a reference and revision. Connect the intended use to material, construction, finished dimensions, permitted operating conditions and packing. A photograph establishes appearance; it cannot define thickness, cavity volume, coating or dimensional tolerance.
| Product family | Write into the specification | Check on the sample |
|---|---|---|
| Silicone baking mat | Finished length × width, thickness, corner shape, border and reinforcement. | Tray fit, flat placement, permitted oven use, release and edge condition. |
| Silicone mold or pan | Overall footprint, cavity dimensions, volume measurement method and support needs. | Filled handling, baked shape, release, dimensional consistency and cleaning. |
| Metal baking pan | Material, metal thickness, rim geometry, flat base, finish and coating. | Equipment fit, loaded handling, flatness, baking result and care requirements. |
| Paper or disposable liner | Paper construction, finished cut size, shape, print and sheets per pack. | Fit, release or grease resistance for the intended use, print condition and pack count. |
| Retail set | A specification for each component plus the set contents and packing sequence. | Complete set, component fit, instructions, pack protection and one sellable-unit code. |
Specify the finished item.
For a reinforced baking mat, record the finished size including its border. For a mold, separate cavity dimensions from the overall footprint. For a metal pan, identify the thickness measurement and rim construction. For paper, separate a food wrap from an oven liner; similar appearance does not establish the same permitted use.
Give the set its own bill of materials.
List each component, quantity, color and packing position. A two-mat set requires two approved mats and one approved retail pack. Keep individual component codes linked to the sellable set code so the packing team and inspector can check completeness.
For tray dimensions, use the commercial sheet pan size guide →
03 / Brand execution
Approve where the brand appears,
and how the pack works.
Choose a marking method for the construction.
Printing, molded or debossed marks, and metal marking require their own review. Agree the available method on the selected item, then record logo size, location, orientation and accepted appearance. Identify whether the mark touches food, enters the oven or goes through washing; include those conditions in sample and document review.
Supply vector artwork and outline the fonts. Keep print colors identified and use a physical color reference for the product. Inspect a decoration sample on the actual surface: texture, a curved wall and a narrow border affect the result.
Build the package around the finished product.
Start with the packing method: flat, loosely rolled, nested or separated with an insert. Avoid sharp folds in reinforced mats and pressure that distorts a flexible mold. Confirm the packed dimensions before releasing the dieline, and test opening, removal and repacking with the physical sample.
The retail unit
Product + information
- Correct set contents and SKU identity
- Product name, dimensions and supported use claims
- Care instructions and operating limits for the item
- Required market and channel information
- Barcode, artwork revision and any lot marking
The shipping unit
Protection + count
- Units per inner pack and shipping carton
- Separation and cushioning where needed
- Protection from abrasion, crushing and moisture
- Carton dimensions, gross weight and markings
- Distribution test agreed for the intended route
Check the barcode on the finished, filled package. Keep it clear of folds, seals and graphics, with the required blank space around the symbol. Verify the printed symbol using the appropriate method; one successful phone scan does not qualify print quality.
Remove supplier names, inherited watermarks and unrelated phone numbers or QR codes from the approved files. Retain the market-required identification and contact information agreed for your product. Check the printed proof as well as the design file.
04 / Document scope
Match the evidence to the item you order.
Define the destination market, intended food contact and operating conditions at the start. Review the document requirement for the finished construction, including coatings, pigments or printing where relevant. A report for a different material, sample or use condition does not establish the suitability of the proposed item.
- Identity: connect the report or declaration to the product, material and sample description.
- Conditions: check that the test scope addresses the intended food contact, time and temperature where applicable.
- Configuration: record what changed in the custom version and whether further evaluation is needed.
- Claims: align packaging statements, care instructions and sales copy with the evidence for the selected item.
Agree which documents must be reviewed before production or shipment and who confirms the destination-market requirements. Keep the accepted versions with the SKU record. Do not transfer a raw-material rating directly onto every finished product or use a certification-style graphic as a substitute for the required evidence.
05 / Commercial planning
Separate MOQ, unit cost
and the launch schedule.
Ask what each minimum applies to.
Product, custom color, logo run, paper print run and retail packaging can each have a different minimum. Record the unit as well: pieces, sets, sheets, rolls or kilograms. Confirm whether a minimum applies per SKU, color, size or artwork. Combining products in one shipment does not automatically combine their production minimums.
If a packaging order exceeds the first product run, agree how the excess packaging will be stored, identified, paid for and used on later orders. Keep packaging inventory separate from finished-goods inventory. A redesign can make unused printed packaging obsolete.
Compare the same finished unit
Product + decoration + retail pack
+ allocated development costs
+ inspection & delivery costs
Separate recurring costs from one-time tooling, print setup, samples and agreed testing. Identify the delivery basis and what is excluded. Compare quotations at the same quantity, specification, pack and destination assumptions.
Plan from the launch date backwards.
Include feasibility review, artwork preparation, samples, corrections, document review, production, inspection and transport. Ask what starts each clock: approved drawing, color reference, tooling completion, artwork sign-off or another agreed release condition. Build in time to correct a failed sample or inspection.
A production lead time begins after its agreed inputs are ready. It does not cover all the time from first inquiry to receipt at your warehouse. Confirm the delivery milestones for the chosen route rather than using one lead-time number for the whole project.
06 / Sample approval
Approve more than an attractive prototype.
Use separate checks for function, decoration and the packed unit. Each can be approved at a different stage, but production needs an agreed, complete reference set.
Base product sample
Use it to assess construction, dimensions, handling and the baking task. Record the recipe or application, tray and oven conditions, cleaning routine and result. A stock sample is not approval of a later custom color, logo or packaging.
Decoration sample & artwork proof
Review the actual marking where practical, with its final position, size and orientation. Compare the physical color reference under agreed lighting. Check artwork on the correct dieline; a screen mockup alone does not establish printed color or marking durability.
Pre-production packed sample
Approve the intended product, finish, logo, instructions and retail pack together. Confirm the sample’s construction and production method. If it differs from bulk production, list the differences and agree how each will be verified before release.
Retained approval set
Keep matched reference samples with the buyer and supplier, plus dated photographs and drawing, artwork and packaging revisions. Write the accepted tolerances and test results into the specification. The reference sample shows appearance; the written limits make inspection repeatable.
If you request a new logo position, color, dimension or package, update the revision and identify what needs a new sample. Do not leave a verbal change outside the production specification.
07 / Production & replenishment
Inspect against the approval.
Reorder against the revision.
Before production, align the purchase order, product drawing, artwork, packing instructions and approved samples. Agree the inspection method, sample selection, defect definitions and acceptance limits. Define what happens if a lot fails before shipment is released.
| Check | Compare with the approved record |
|---|---|
| Identity & traceability | Correct SKU, material or construction reference, color, lot identifier and production revision. |
| Dimensions & function | Agreed measurement points, tolerances, fit and functional checks using the documented method. |
| Finish & marking | Surface defects, edge condition, logo position, legibility and agreed resistance to normal handling or washing. |
| Retail unit | Correct components, instructions, artwork, barcode, closure and protection. |
| Shipping carton | Units per carton, carton markings, packing orientation, actual dimensions and gross weight. |
Make the result measurable. Replace “good printing” with an agreed location tolerance, legibility requirement and marking check. Replace “fits tray” with the defined pan, finished dimensions and fit method. Keep functional testing and visible-defect inspection identified separately.
Control substitutions and revisions.
Record material, pigment, coating, marking, tooling and packaging references where they affect the approved item. Require proposed changes to be reviewed before use. Evaluate whether a change needs a new sample, updated documents, artwork correction or another inspection check.
Keep a record of the delivered lot.
Retain lot identification, inspection results, packed-unit photographs, carton data and any agreed retain samples. Log returns or handling problems against the batch and the specific defect. Use that record to correct the next order rather than changing several variables at once.
Settle tooling and brand-use terms early.
For a project with custom tools, agree their identification, maintenance, storage and access arrangements. For branded artwork, agree its permitted use and how revisions are released. If exclusivity matters, define its scope separately; adding a logo to an existing item does not by itself define an exclusive range.
Need a coordinated range? See mixed baking supplies sourcing →
08 / Common questions
Planning a private label bakeware order.
What is private label bakeware?
Private label bakeware is sold under the buyer’s brand using an agreed product and packaging specification. It can start with an existing product, add product branding or involve a modified construction. A new mold is only needed when the chosen design and production route require it.
What is the difference between private label and OEM bakeware?
Private label describes the brand under which a product is sold. OEM describes a manufacturing arrangement for an agreed design or specification, but suppliers use the term differently. Define the actual changes, tooling, deliverables and responsibilities instead of choosing a project from the label alone.
What information is needed for a private label bakeware quote?
Provide the product reference, intended use, material and dimensions, destination market, quantity by SKU and color, branding files, packaging format and required timing. Separate the initial order from the reorder forecast, and identify any tooling, testing or document requirements.
What is the minimum order quantity for private label bakeware?
MOQ depends on the product construction, customization and packing. Product, color, printing and packaging can have different minimums and different units. Request a breakdown by SKU, color and component; mixed products or colors do not automatically share one MOQ.
Can I start with an existing product and custom packaging?
Yes. An available product with an approved branded sleeve, insert or box is a practical starting route. Keep the product specification fixed, confirm the packaging minimum and approve the complete packed unit before production.
How long does a private label bakeware project take?
The schedule depends on sample development, artwork, document review, tooling where needed, production, inspection and transport. Request a schedule with the start condition for each stage. A bulk-production lead time is not the full time from first inquiry to warehouse receipt.
What samples should I approve before production?
Approve the product construction and function, the branding and artwork, and the complete pre-production packed unit. Keep the approved samples with the drawing, color, artwork and packaging revisions so production and inspection use the same references.
Does a private label project give me an exclusive product?
Branding an existing product does not by itself establish exclusivity. Define any exclusive design, tooling access, territory, channel, duration and permitted use of artwork in the project agreement. Keep those terms separate from product and sample approval.
Prepare the first brief
Bring the product reference.
Define the finished unit.
BakewareLink can review a private label brief across bakeware, silicone mats, paper liners and related baking supplies. Start with the intended use and customization scope so product and packaging requirements can be evaluated together.
- Product reference, drawing or existing sample
- Material, finished dimensions and intended use
- Quantity by SKU, size and color; initial order and forecast
- Destination market, sales channel and launch requirements
- Logo files, product color and proposed retail pack
- Sample, documentation and inspection requirements